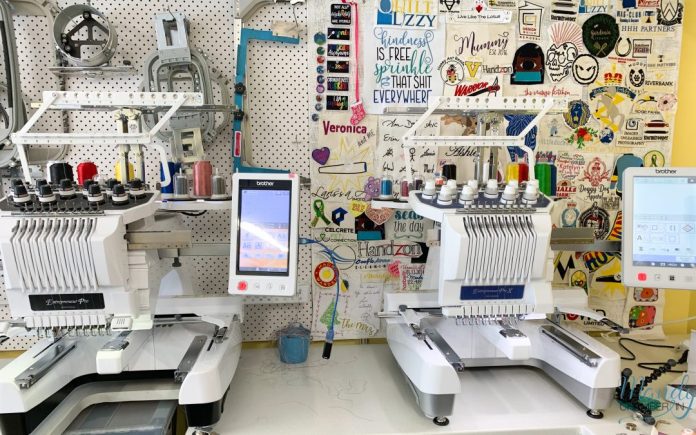
Setting up your first embroidery machine can be an exciting experience, opening the door to endless creative possibilities. With the right guidance, you’ll be ready to start your first project in no time. Here’s a step-by-step guide to help you set up your embroidery machine for a smooth, hassle-free start.
1. Unbox and Organize the Components
After unboxing your embroidery machine, take a moment to check all the included parts. Components generally include the power cord, embroidery hoops, bobbins, needles, and an instruction manual. Arrange everything neatly so you have each item within easy reach, making the setup process smoother.
2. Read the Manual
Each embroidery machine has its unique features and specifications, so it’s essential to review the user manual before you begin. The manual will provide insights on threading, design options, and operating your machine safely. This foundational knowledge will save you time and prevent common beginner errors.
3. Position the Machine on a Stable Surface
Place your embroidery machine on a sturdy, level surface to ensure stability during operation. This is particularly important, as embroidery projects require precision, and a wobbly surface can affect stitch accuracy. Make sure there’s enough room around the machine for fabric and any additional accessories you might need.
4. Connect the Power Cord
Next, plug in the power cord and turn on the machine. Most embroidery machines have a power switch that activates the motor and screen. Once it powers up, you may see a welcome screen or prompt to select language or region settings if your machine has an advanced digital interface.
5. Install the Bobbin
Locate the bobbin compartment, usually at the lower front section of the machine. The bobbin thread is crucial as it supports the top thread to create stitches. Consult the manual for specific instructions on bobbin placement and direction. Ensure the bobbin is correctly inserted to avoid thread jams or tension issues.
6. Thread the Machine
Proper threading is essential for smooth, uninterrupted embroidery. Start by placing your thread spool on the spool pin and following the threading path illustrated in your manual. Many machines have numbered guides or diagrams to help you thread accurately. Finally, pass the thread through the needle and pull it slightly to ensure it’s secure.
7. Attach the Embroidery Hoop
Embroidery hoops keep your fabric taut, ensuring even stitching throughout the design. Place your fabric in the hoop, stretching it tightly to eliminate wrinkles or slack. Attach the hoop to the machine securely, ensuring it clicks into place. The fabric should be flat and centered within the hoop for accurate stitching.
8. Select Your Design and Adjust Settings
With your fabric in place, turn to the machine’s display or control panel to choose a design. Many embroidery machines come with built-in designs, and some allow you to upload custom patterns. Once you’ve selected your design, you can adjust the size, placement, and stitch density. Ensure you’re satisfied with the settings before proceeding.
9. Check Thread Tension
Proper thread tension is critical for high-quality embroidery. Test your tension on a scrap fabric if possible to ensure the stitches are even and smooth. The top and bottom threads should form balanced stitches without any loops or breaks. Adjust the tension settings as needed to achieve the best results.
10. Begin the Embroidery Process
Once everything is in place, you’re ready to start stitching. Lower the presser foot, and if your machine has a start button, press it to begin. Keep an eye on the machine as it stitches your design, especially for larger or more intricate patterns. Ensure the fabric remains stable and doesn’t shift during stitching.
11. Remove the Hoop and Trim Excess Threads
After the machine finishes stitching, lift the presser foot and detach the hoop carefully. Trim any excess threads from the fabric, taking care not to cut too close to the stitches. This final step ensures your design is neat and professional.
Additional Tips for Beginners
Consider purchasing extra accessories, like different needle sizes and specialized hoops, as you become more familiar with your embroidery machine. Consulting with an embroidery machine manufacturer can also help you explore additional features and maintenance tips to keep your machine in top condition.
Embark on Your Creative Journey
Setting up your first embroidery machine may seem detailed, but each step is crucial for achieving beautiful, precise results. With practice, you’ll soon be creating designs with confidence and ease, making the most of your embroidery machine’s capabilities. Enjoy the journey as you explore the endless possibilities embroidery has to offer!
